How To
How to use Microsoft Paint 3D in 6 simple steps
- August 31, 2022
- Updated: July 2, 2025 at 3:29 AM
Paint 3D is a unique creative application that updated the classic Microsoft Paint tool to provide additional features for 3D modeling in Windows 10. Microsoft Paint has been included with every version of Windows, offering users a basic raster editor that lets them draw, scribble, or doodle with any Windows-compatible device. While Paint 3D comes inbuilt into Windows 10, the only way to enable the latest version on Windows 11 is through a software download.
Explore how to create dynamic 3D drawings and change their characteristics with Microsoft Paint 3D in this brief introductory guide.
Launch Microsoft Paint 3D
If you’re running the Windows 10 operating system with the Creators Update, you should already have Paint 3D installed on your device. If not, download the application since 3D is unavailable in previous versions of Windows 10 and the current edition of Windows 11.
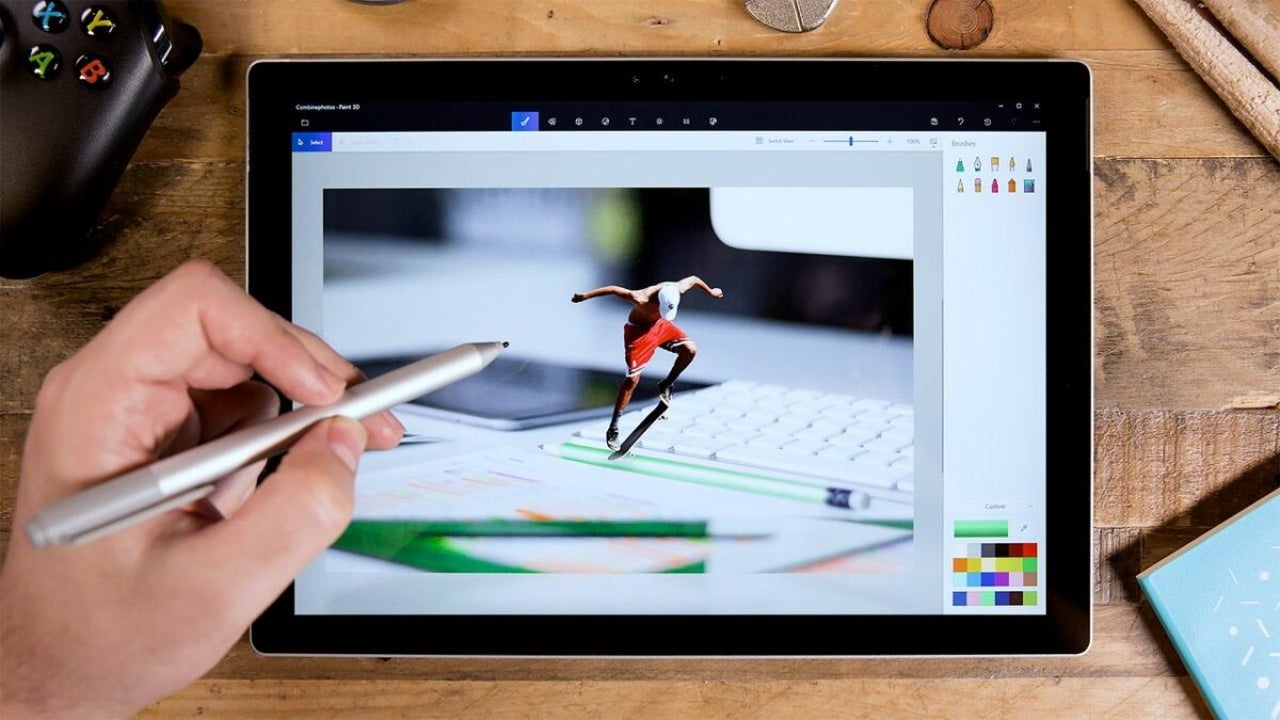
Once you’ve installed the software, you’re ready to start creating 3D objects within a scene by using the Magic Select tool. The editor supports 3D and 2D images alike and is very simple to use. To launch the program, head over to the Windows Ink Workspace or choose Start > All Apps and locate Microsoft Paint 3D.
Insert an image into Paint 3D
Begin by downloading a basic template. Or, if you wish, use an existing file on your device. Advanced drawing artists may want to sketch the image directly onto the canvas with a stylus. We’ll get into how at a later step. But, for beginners, it is best to start with a basic 2D file that will readily translate into a nice 3D object. After selecting a file, access the Hamburger Menu dropdown in Windows and choose Insert.
Take a moment to select your canvas and resize it using the Canvas tab, and bring your object to the desired scale. We recommend the Transparent Canvas if you don’t want the final product to display a white background. If you have the precise dimensions, enter them in the width and height boxes. To crop this image, click on the Select button, and access the crop tool. Press Crop to reframe the image template.
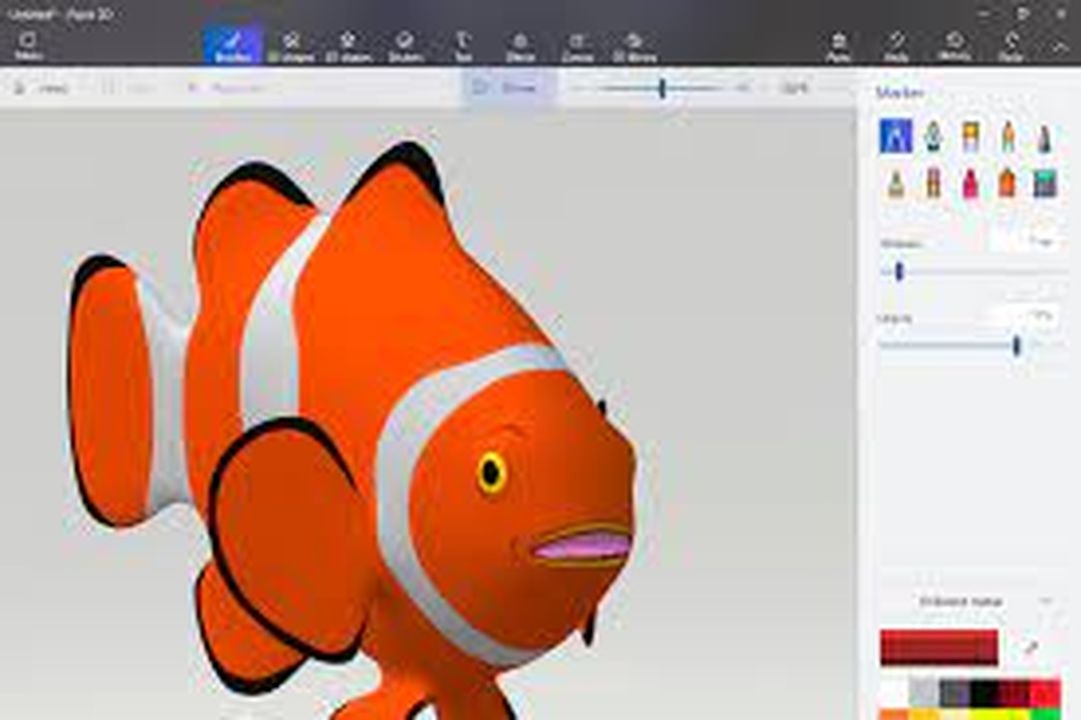
Mask your image into a 3D object
Your object is still two-dimensional, so you need to access the 3D Object tab before rendering it into 3D. For illustration purposes, let’s assume you chose a basic 2D sphere as your template. Now, using your stylus, draw a facial expression on the object by hand after choosing the Objects > 3D doodle. Those who aren’t artistically inclined can access the various custom Microsoft stickers under the Stickers tab and apply one of these graphics to the sphere.
Change the color of your object
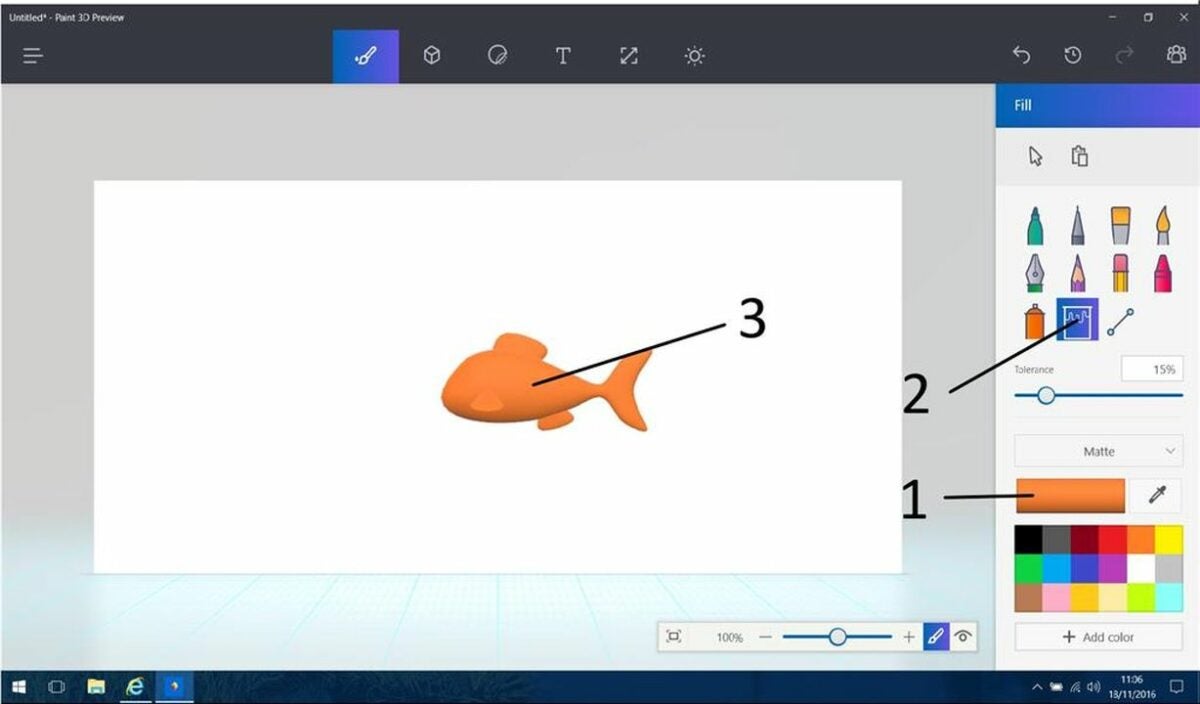
To change the color of your object, locate the Tools tab. From there, choose the Fill, and find your preferred color by selecting Color. Use your mouse to tap on the object, and the action will fill it with your preferred shade.
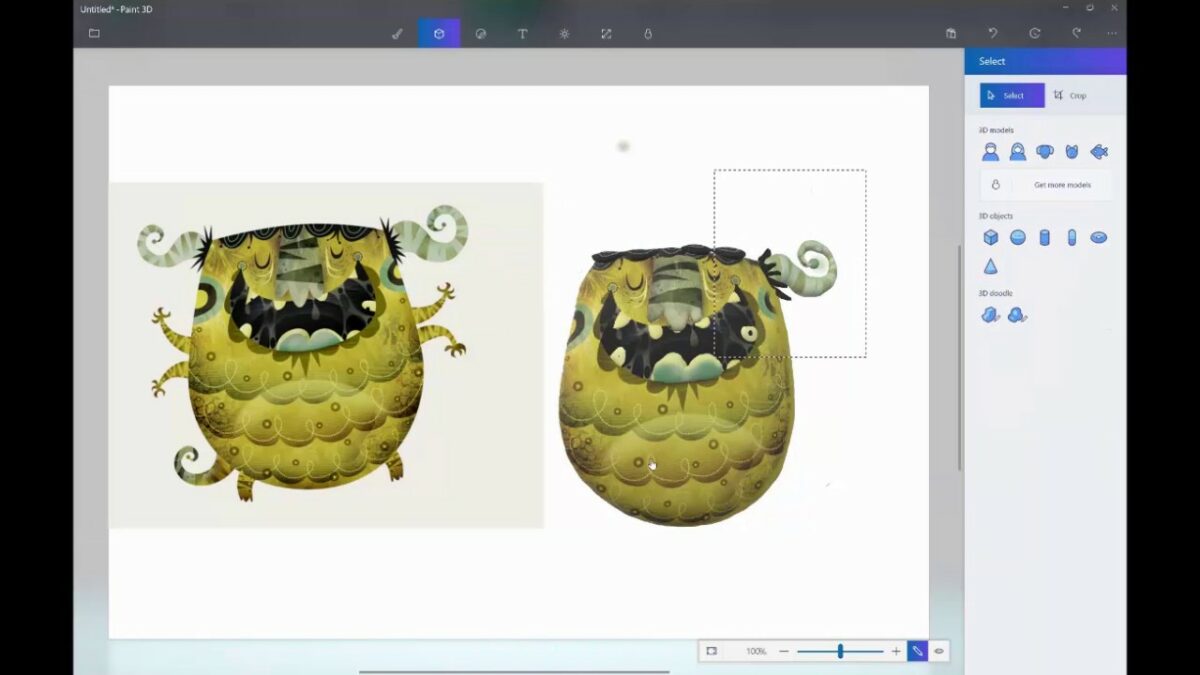
If you want to fill multiple objects, use either the Multiselect or Select all tools, and apply the new color to each file. To duplicate an object, all you need to do is select it and click on Copy and then Paste. Resize the objects by manipulating the anchors at their corners to establish their appropriate scale within your scene.
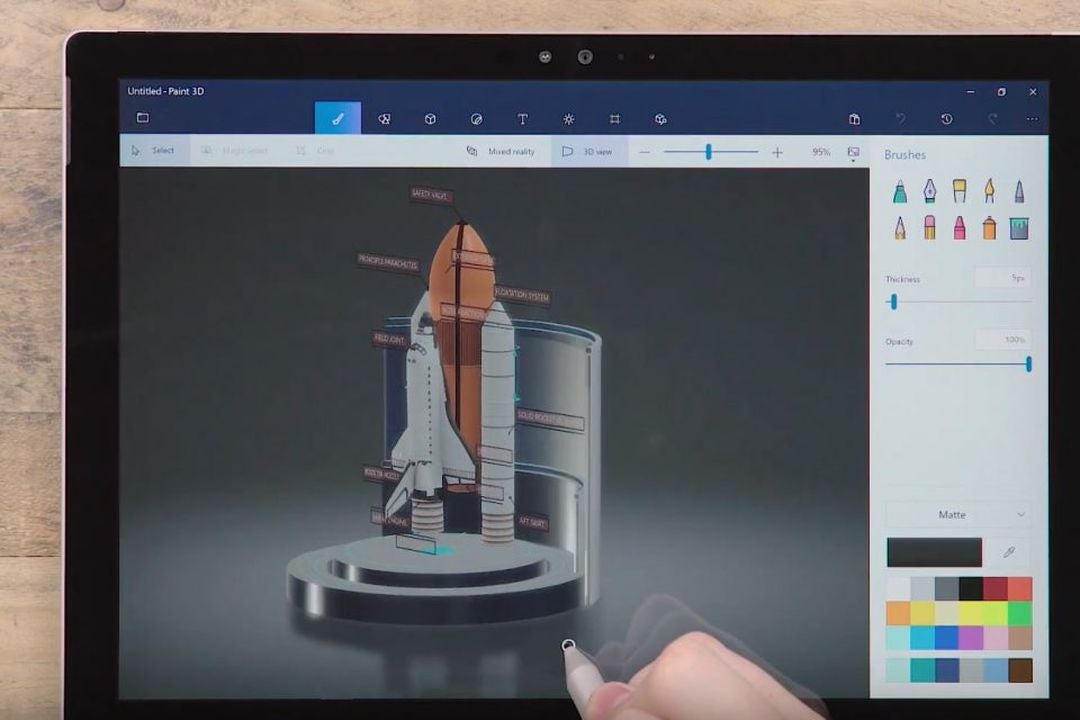
Rotate your 3D object
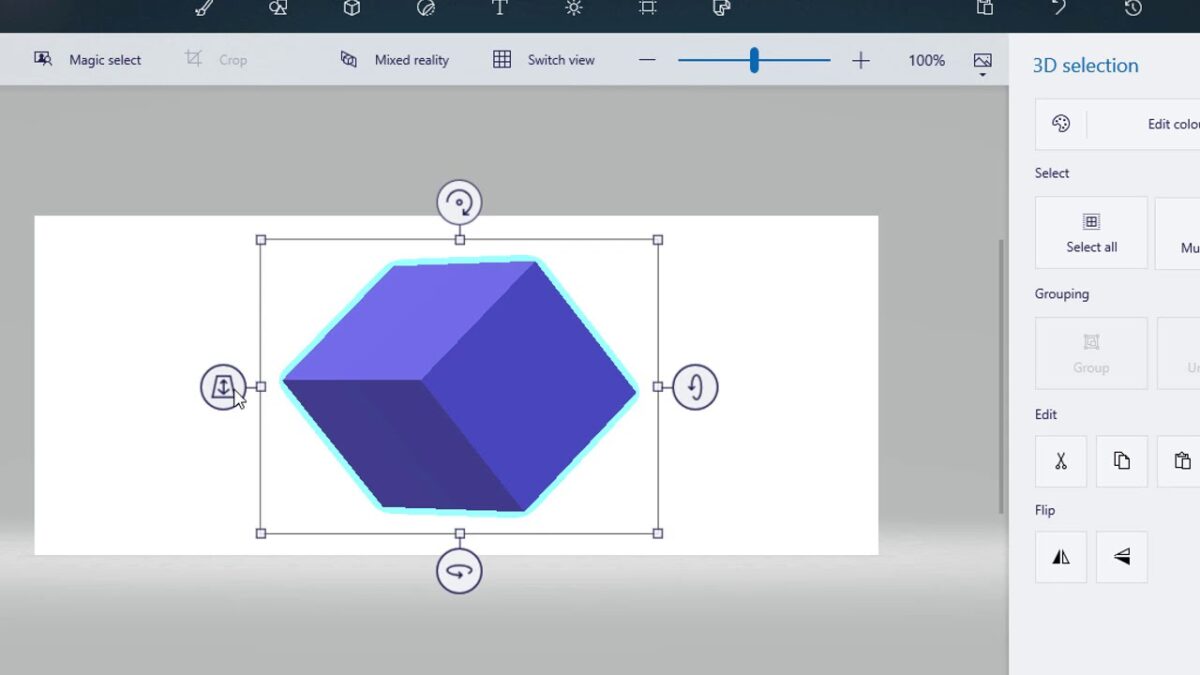
You already rendered your creation into 3D with the 3D Object mask in a previous step, so now you can rotate it using the Perspective Anchors to reposition the figure(s) within the three-dimensional canvas. If you’re working with multiple objects, try resizing them while rotating the figures around at different angles to give more depth and dimension to your canvas.
Finally, to preview your work in 3D, click on the object, and select the 3D preview icon, sliding it up or down. Save the project to your desktop or a folder by clicking Menu > Export file.
Ready to start exploring Microsoft Paint 3D?
Paint 3D is a no-cost, accessible digital content creation tool that lets you generate models from scratch or convert existing 2D templates into professional-grade 3D objects. Even if you’re a non-artist or complete beginner, Microsoft’s Paint 3D offers a great opportunity to unlock your creative side, and the software is entirely free to use. For more on the latest graphic design tools, check out our tutorial on how to paint strikingly realistic watercolors with Procreate.

You may also like
 News
News'Catwoman' not only killed DC in cinema for years. It also destroyed a legendary video game studio
Read more
 News
NewsDisney stopped this adaptation of one of its best animated films. Now it has restarted it
Read more
 News
NewsGame Pass announces the first batch of games for October, including two classic RPGs and the most anticipated action game of the year
Read more
 News
NewsDwayne Johnson and Emily Blunt have a special chemistry on screen, and this classic available on Disney+ proves it
Read more
 News
NewsEA alienates its community again with an overpriced cosmetic pack, this time in skate
Read more
 News
NewsSigourney Weaver was about to not appear in one of the Alien movies, but her director prevented it
Read more